
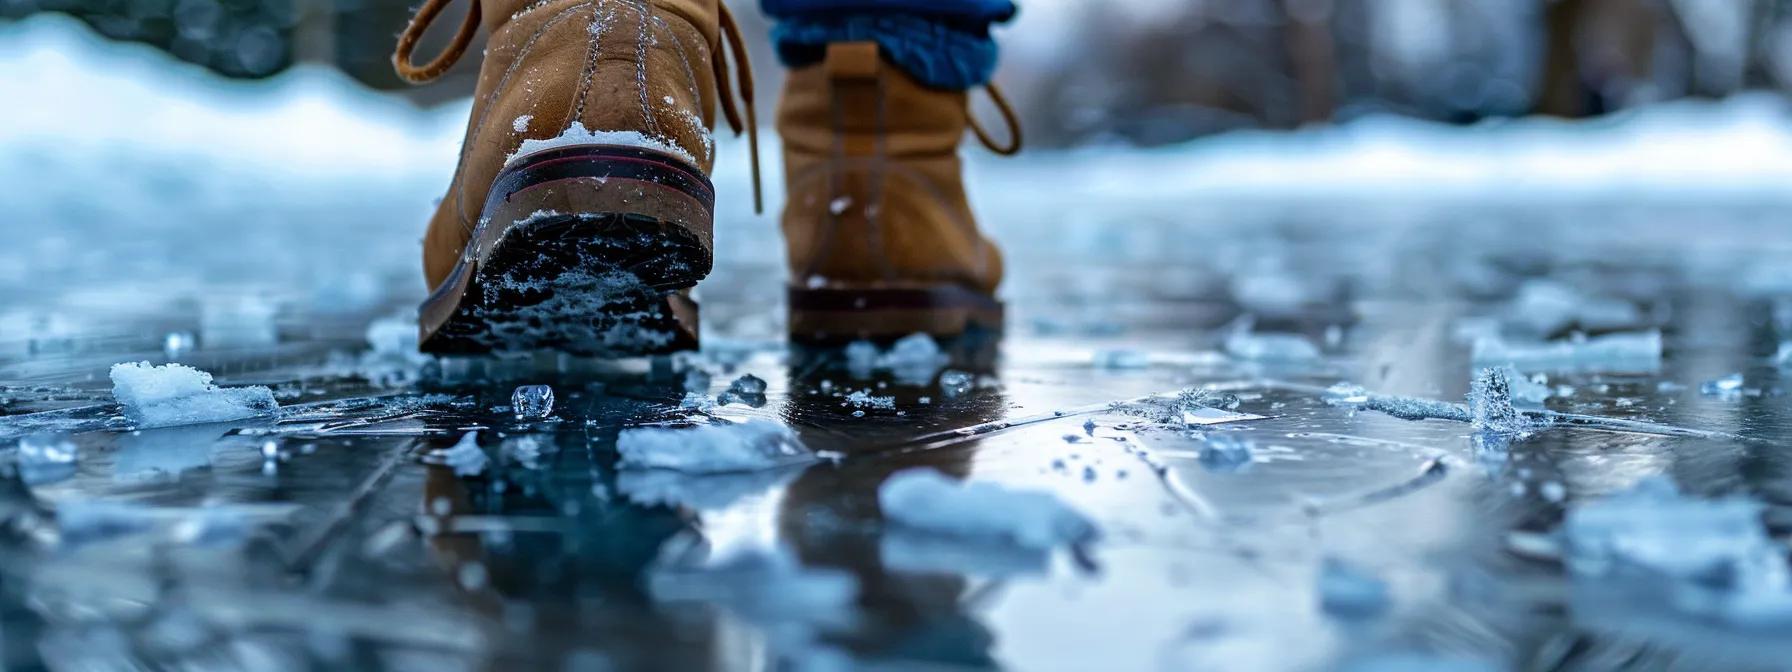
Falling through ice triggers cold shock and rapid sinking, making every second critical when you need to know how to survive falling into icy water. This guide delivers immediate self-rescue steps, hypothermia recognition and treatment, proven ice-extraction methods, ice-safety assessment, essential winter gear, extended cold-water survival strategies, and post-rescue care. You will learn to control panic, climb onto ice safely, spot unsafe conditions, carry life-saving tools, conserve body heat, and recover without complications. Follow these expert-backed techniques to transform a freezing emergency into a survivable event.
What Are the Immediate Steps to Take After Falling Through Ice?
Immediate self-rescue involves controlling cold shock, extracting yourself onto solid ice, maintaining safe body position, and avoiding actions that worsen danger. Acting fast prevents drowning and limits core temperature loss. The following sections explain breathing control, exit mechanics, posture for climbing, and common mistakes to avoid—each step builds your resilience and leads into hypothermia prevention strategies.
How Do You Control Your Breathing to Prevent Panic?
Cold shock reflex causes uncontrolled gasping, risking water inhalation and panic. Inhale slowly through your nose, pause for two seconds at lung capacity, then exhale gently through pursed lips. Count to four with each cycle to regain control, then focus on outward breaths to stabilize your heart rate. This breathing pattern calms the nervous system and buys time for your next self-rescue move.
What Is the Best Way to Get Out of the Water Quickly?
The roll-and-kick technique uses surface ice as leverage to escape.
- Turn face down with chest against the ice edge.
- Extend arms wide and press elbows into the ice.
- Kick feet vigorously to propel your torso onto the surface.
- Once chest is clear, slide forward on your stomach.
This method distributes your weight evenly and prevents the ice from fracturing further, setting up a stable position for full extraction.
How Should You Position Your Body to Climb Back Onto the Ice?
Lying flat spreads body weight and reduces pressure on fragile edges. Keep your chest and stomach pressed to the ice, legs extended behind you. Once momentum carries you forward, roll onto your side and crawl away on hands and knees toward thicker ice. A low center of gravity prevents repeat breaks and leads seamlessly into recognizing when the ice is truly secure.
What Should You Avoid Doing to Prevent Further Danger?
Before shifting from self-rescue to recovery, steer clear of these pitfalls:
- Standing up immediately after exit, which concentrates weight on weak ice.
- Thrashing limbs that deepen fractures and delay escape.
- Panicking and abandoning controlled breathing that sustains calm.
- Removing wet clothing while still on the unsafe ice, exposing core to chill.
Avoiding these errors preserves energy and prevents a secondary fall, paving the way to hypothermia treatment.
How Can You Recognize and Treat Hypothermia After Cold Water Immersion?
Hypothermia happens when core temperature drops below 35 °C, impairing motor skills, cognition, and vital functions. Early detection and prompt warming restore thermal equilibrium and prevent escalation. You’ll identify early warning signs, apply first aid measures, and know when professional help becomes essential for full recovery.
What Are the Early Symptoms of Hypothermia?
- Intense shivering and muscle rigidity
- Slurred speech and slowed reaction times
- Numbness in extremities and pale, cold skin
- Confusion or drowsiness indicating impaired brain function
- Breathing that becomes shallow or irregular
How Do You Provide First Aid for Hypothermia?
First aid for hypothermia centers on gradual rewarming and insulation.
- Move the person out of wind or water exposure and onto dry ground.
- Remove soaked garments and replace them with dry, insulating layers.
- Use blankets or emergency thermal wraps around the torso and neck.
- Offer warm (not hot) non-alcoholic fluids by mouth if the person is conscious.
- Monitor breathing and pulse continuously until temperature stabilizes.
These steps build core warmth while minimizing shock, readying the victim for medical assessment.
Hypothermia Treatment and First Aid - English
Studies emphasize the importance of prompt and appropriate first aid for hypothermia, including removing wet clothing, providing insulation, and offering warm fluids. The research also highlights the need to seek professional medical help when severe symptoms like loss of consciousness or irregular heartbeat are present.
Mayo Clinic, "Hypothermia," (2024)
This citation supports the article's section on recognizing and treating hypothermia after cold water immersion, reinforcing the importance of first aid and medical intervention.
When Should You Seek Emergency Medical Help?
Severe hypothermia requires professional care when critical symptoms appear:
- Loss of consciousness or unresponsiveness
- Heart arrhythmias like slowed or irregular heartbeat
- Core body temperature below 32 °C (measured if possible)
- Persistent confusion, blurred vision, or inability to follow commands
Escalating to emergency services ensures advanced rewarming methods and cardiovascular monitoring to avoid fatal complications.
What Are the Most Effective Ice Self-Rescue Techniques?
Ice self-rescue combines biomechanical leverage, tool use, and survival strategies when immediate climbing is impossible. Mastering these methods empowers you to escape alone or extend endurance until help arrives. The following techniques detail limb coordination, tool integration, and fallback tactics.
How to Use Your Arms and Legs to Pull Yourself Out Safely
Using four-point contact amplifies traction and stability:
- Press elbows firmly into the ice edge to anchor your upper body.
- Kick feet in a flutter motion to shimmy your torso onto the surface.
- Once chest rests fully, pivot onto your abdomen and extend arms forward.
- Slide your body slowly away toward thicker ice while maintaining contact with four points.
This approach leverages skeletal structure rather than muscle strength alone, conserving energy for the next survival phase.
How Can You Use Ice Picks or Other Tools for Rescue?
Ice picks, rescue spikes, and extendable poles enhance grip on slick surfaces and provide leverage. Retractable ice picks attach to wrist straps, allowing quick deployment to dig into ice and pull your body weight. Carrying a collapsible rescue pole or rope alongside a flotation belt offers additional reach and security. Practicing tool handling ahead of time makes your response automatic, increasing your chances of a clean exit.
What Are the Best Strategies if You Cannot Climb Out Immediately?
When climbing fails, maximize buoyancy and heat conservation:
- Adopt the Heat Escape Lessening Position (HELP) to reduce heat loss.
- Float on your back with hands supporting your head if possible.
- Kick feet gently to maintain airway clearance.
- Signal verbally or visually for rescue by waving one arm.
These fallback tactics prolong survival and invite assistance before exhaustion sets in.
How Do You Assess Ice Safety Before Walking or Skating?
Evaluating ice quality prevents falls altogether by integrating thickness measurements, environmental factors, and visual indicators. A robust pre-activity check reduces risk and ensures safe passage. The subsections below explain thickness guidelines, weather effects, and signs of instability.
What Does the Ice Thickness Safety Chart Indicate?
Safe ice thickness varies by activity and ice condition. Use this reference when planning to cross or skate on frozen water bodies:
| Thickness (cm) | Activity | Safety Level |
|---|---|---|
| 5–7 | Walking alone | Very cautious, test often |
| 8–12 | Group walking or skating | Generally safe |
| 13–15 | Snowmobile or ATV use | Moderate risk with caution |
| 16+ | Light vehicle (car) travel | Acceptable if uniformly thick |
Testing with an ice chisel or auger at multiple points ensures consistent measurements, minimizing surprises underfoot.
Ice Thickness and Safety Guidelines - English
Research indicates that ice thickness is a critical factor in determining safety, with different activities requiring varying levels of ice thickness. For example, walking alone requires a minimum of 5-7 cm of ice, while group activities like skating need 8-12 cm. Snowmobiles and ATVs require even thicker ice, and light vehicles need 16+ cm.
Canadian Red Cross, "Ice Safety," (2024)
How Does Weather Affect Ice Stability?
Temperature cycles, sun exposure, and precipitation dramatically influence ice strength. Rapid thaw-freeze fluctuations create hidden water channels and weak layers. Rain or snow atop ice adds weight and insulates underlying ice, slowing freeze. Checking local forecasts and observing recent weather patterns helps predict ice integrity and guides safe route selection.
What Are the Signs of Unsafe or Weak Ice?
Visual and tactile cues warn of perilous surfaces:
- Dark, translucent patches indicating thin ice or open water below
- Cracks radiating across large areas or zigzag patterns
- Slushy or porous textures that collapse under pressure
- Air bubbles or water pooling on top signaling underlying melt channels
Recognizing these warning signs leads to careful retreat and better route planning.
What Winter Ice Safety Gear Should You Carry to Improve Survival Chances?
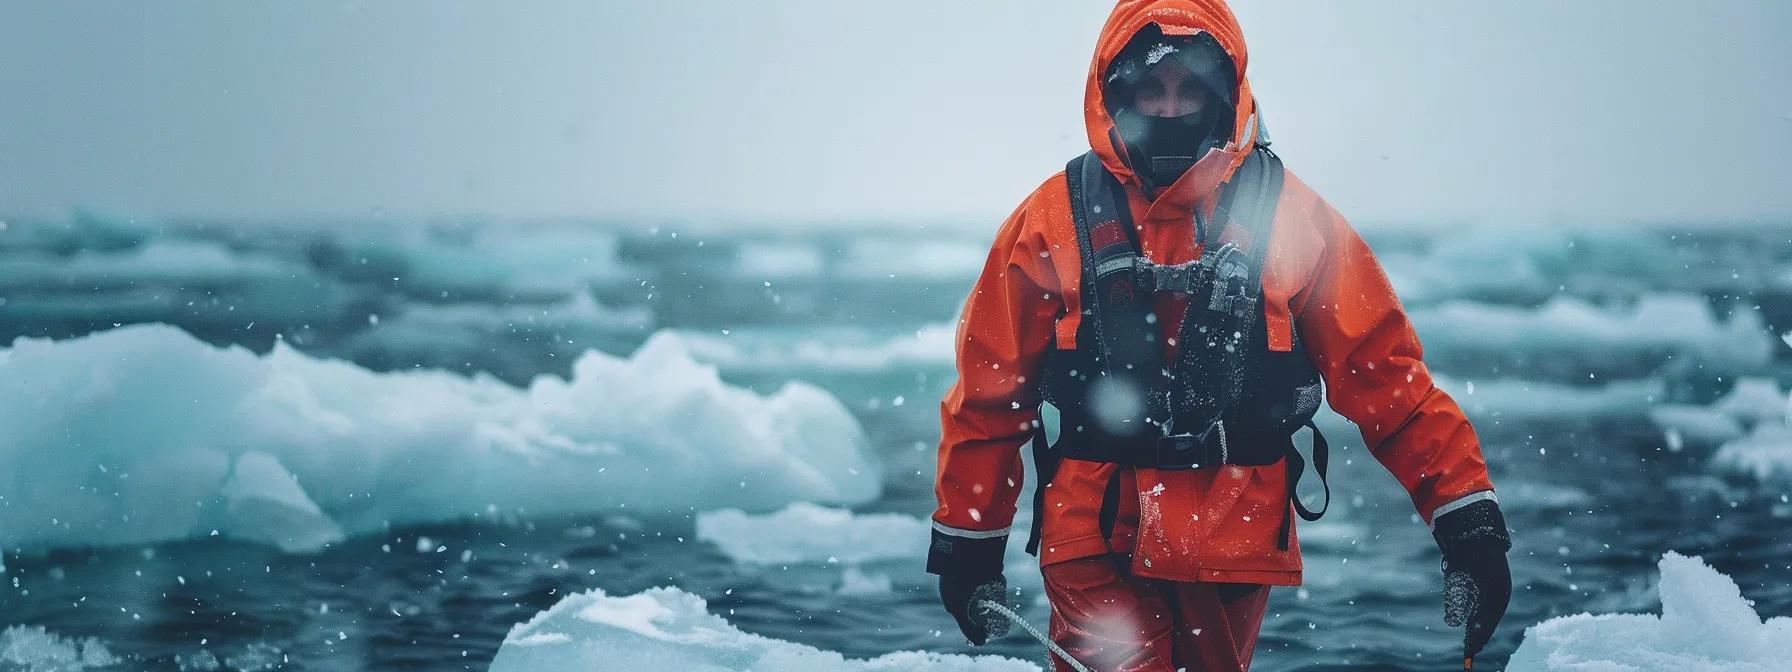
Carrying specialized equipment equips you for both prevention and escape, enhancing trust in your own preparedness. Essential tools, proper clothing, and practiced usage form a cohesive survival system that supports every self-rescue step.
Which Tools Are Essential for Ice Rescue and Self-Protection?
| Tool | Function | Why Essential |
|---|---|---|
| Ice Picks | Grip and leverage on ice edges | Enables controlled self-extraction |
| Throw Rope | Reach assistance to others | Secures lifeline for rescuers or you |
| Flotation Belt | Buoyancy in open water | Keeps airway clear |
| Thermal Whistle | Audible alert over distance | Attracts attention in whiteout or fog |
Stowing these instruments in an easily accessible vest or belt prevents delay when every motion matters.
How Does Proper Clothing Help Prevent Cold Water Immersion Risks?
Layering with moisture-wicking base layers, insulating mid-layers, and waterproof outer shells maintains body heat and repels water intrusion. Neoprene or wool cap offers head protection, and gloves with grip inserts preserve dexterity for exit maneuvers. Dry suits provide the highest barrier but require practice to don quickly. Thoughtful attire choices slow heat loss and prolong functional strength when seconds count.
What Are the Best Practices for Using Safety Gear Effectively?
- Keep ice picks and ropes attached to your person rather than packed away.
- Test flotation devices in shallow water to confirm proper fit.
- Rehearse donning and using thermal blankets and rescue tools.
- Inspect gear regularly for wear, damage, or moisture intrusion.
Regular drills build muscle memory and strengthen confidence when you face real emergencies.
How Can You Survive Cold Water Immersion Until Help Arrives?
Extended survival relies on minimizing heat loss, maintaining airway, and signaling for rescue. By combining physical strategies with mental resilience, you can endure until trained responders reach you. The next sections outline body positioning, signaling methods, and psychological techniques.
What Is the Heat Escape Lessening Position (HELP) and How Does It Work?
The HELP posture reduces heat loss by shielding critical body areas:
- Cross arms tightly against the chest.
- Draw knees up toward the torso.
- Keep legs together and slightly bent.
This compact configuration conserves core warmth by limiting water circulation around vulnerable limbs and core, directly supporting prolonged survival.
How Can You Signal for Help While in Cold Water?
- Wave one arm in sweeping motions above the surface.
- Shout short calls for assistance to overcome wind noise.
- Use a whistle or thermal whistle to cut through ambient sound.
- Reflect sunlight with a mirror or bright clothing for visual spotting.
Consistent signaling integrates with self-rescue efforts, ensuring you remain locatable until extraction.
What Mental Strategies Help Maintain Calm and Endurance?
- Focus on slow breathing cycles to steady heart rate.
- Set simple goals like “reach that distant shoreline.”
- Visualize reunification with loved ones to fuel determination.
- Repeat reassuring mantras such as “I am prepared and capable.”
These cognitive anchors ease stress, conserve energy, and align your mindset with survival actions.
What Should You Do After Being Rescued From Falling Through Ice?
Post-rescue care addresses gradual rewarming, complication monitoring, and safe return to daily activities. Taking methodical steps after extraction eliminates risks of rewarming shock and delayed hypothermia. The following advice ensures a stable, complete recovery.
How to Safely Warm Up Without Causing Shock?
- Remove wet clothing immediately and replace with dry, insulated layers.
- Wrap the rescued individual in blankets or a thermal bag while keeping head covered.
- Offer warm, non-caffeinated, non-alcoholic beverages if fully conscious.
- Apply warm packs to the armpits, groin, and neck—areas with large blood vessels—avoiding direct skin contact.
These controlled steps restore temperature steadily, reducing strain on the heart.
What Are the Signs of Delayed Hypothermia or Other Complications?
- Renewed shivering or extreme fatigue several hours post-rescue
- Joint stiffness or persistent numbness in extremities
- Unusual heart rhythms or chest pain indicating cardiac stress
- Skin discoloration or blistering suggesting frostbite
Monitoring these symptoms guides further medical evaluation and prevents long-term damage.
When Is It Safe to Resume Normal Activities?
- Body temperature remains within 36 °C to 37 °C without external aids.
- Heart rate and breathing patterns normalize under rest.
- Cognitive clarity and motor skills have fully recovered.
- A healthcare professional confirms no lingering hypothermia or cardiac concerns.
Waiting for clear green lights before resuming strenuous activity protects you from relapse or injury.
Falling through ice presents one of nature’s harshest tests of survival skills. By mastering breathing control, self-rescue techniques, ice-safety assessments, and cold-water endurance strategies, you greatly increase your chances of emerging unharmed. Proper gear selection, practiced drills, and mental preparedness serve as your safety foundation long before the ice gives way. Remember, no measure is too small when it protects your life against icy depths.